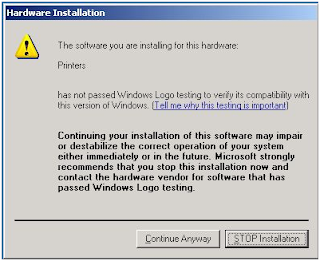
You must be logged on as an administrator or a member of the Administrators group in order to complete this procedure. If your computer is connected to a network, network policy settings may also prevent you from completing this procedure. For more information, click Related Topics.
1.Open Printers and Faxes
2.Right-click the printer for which you want to change drivers, and then click Properties.
3.On the Advanced tab, click New Driver to install a new or updated version of the printer driver using the Add Printer Driver Wizard.
4.Click Next, and then do one of the following:
•Click the appropriate printer manufacturer and printer model if the new or updated driver is on the list.
•Click Have Disk if the printer driver is not included in the list or if you have received a new or updated driver on CD or diskette from the printer manufacturer, type the path where the driver is located, and then click OK.
5.Click Next, and then follow the instructions on the screen to finish installing the printer driver.
Note
•To open Printers and Faxes, click Start, click Control Panel, click Printers and Other Hardware, and then click Printers and Faxes.
•You can also open printer properties in Printers and Faxes by clicking a printer, and then clicking Set printer properties under Tasks on the left side of the window. This option is available only if folders are set to look like a Web page and a printer is selected. For more information, click Related Topics.
•When using Windows XP Professional, you may be able to install new or updated printer drivers when logged on as a member of the Power Users group, depending on the components required by the printer driver.
•If the printer driver you want to use already exists on the print server, you can install it by selecting it from the Driver list.
Source:- http://www.microsoft.com/resources/documentation/windows/xp/all/proddocs/en-us/print_c_drivers.mspx?mfr=true
Comments
Post a Comment